1.Introduction
Universal Office consists of two main programs:
- Universal Scheduling: The main application and workspace that you use daily.
- Administration Setup: This is the ‘control panel’ of Universal Office where you configure system-wide settings.
Universal Scheduling is divided into seven (7) main managers, each of which is responsible for specific tasks:
- Appointment Book: Scheduling appointments
- Patient Manager: Managing patients
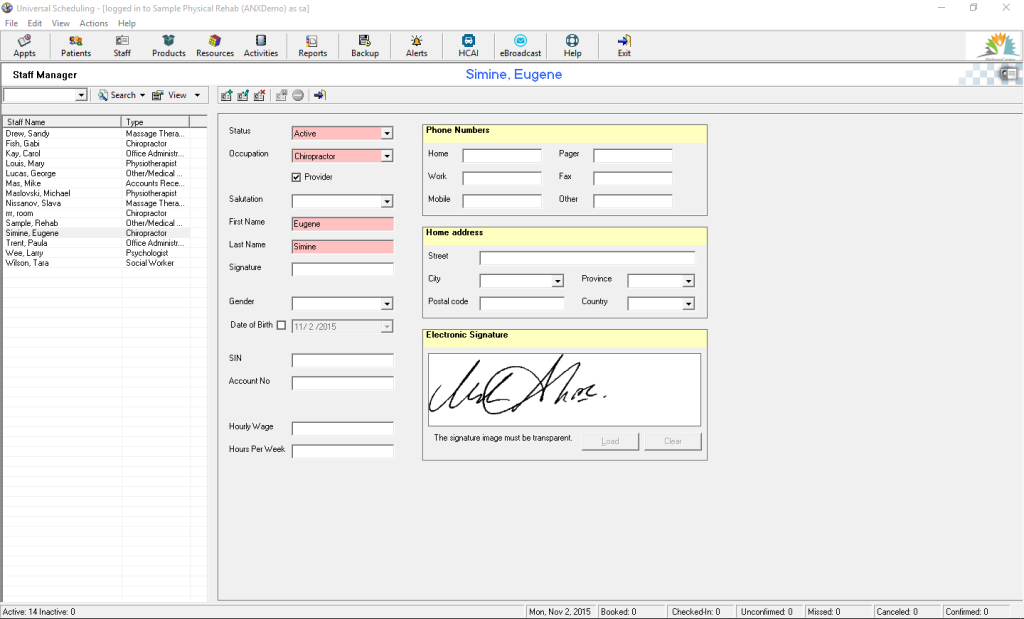
- Staff Manager: Managing staff members
- Product Manager: Managing the products you offer to your patients
- Resource Manager: Managing resources
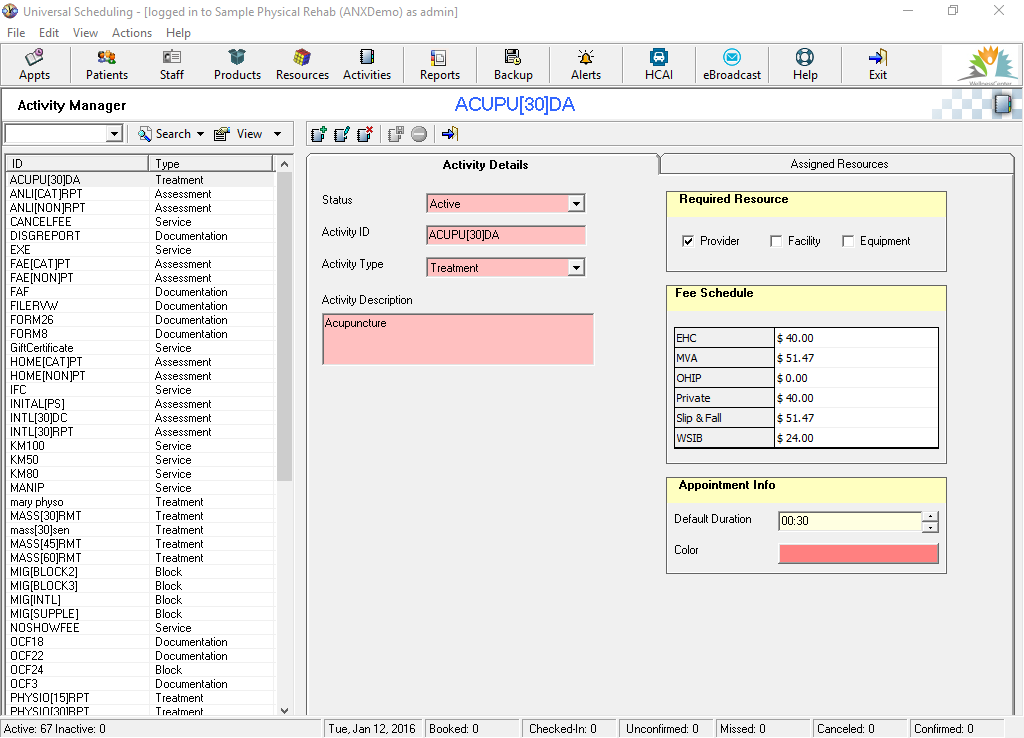
- Activity Manager: Managing the services you provide
- Reports Manager: Managing your generated reports
2.Manager Navigations
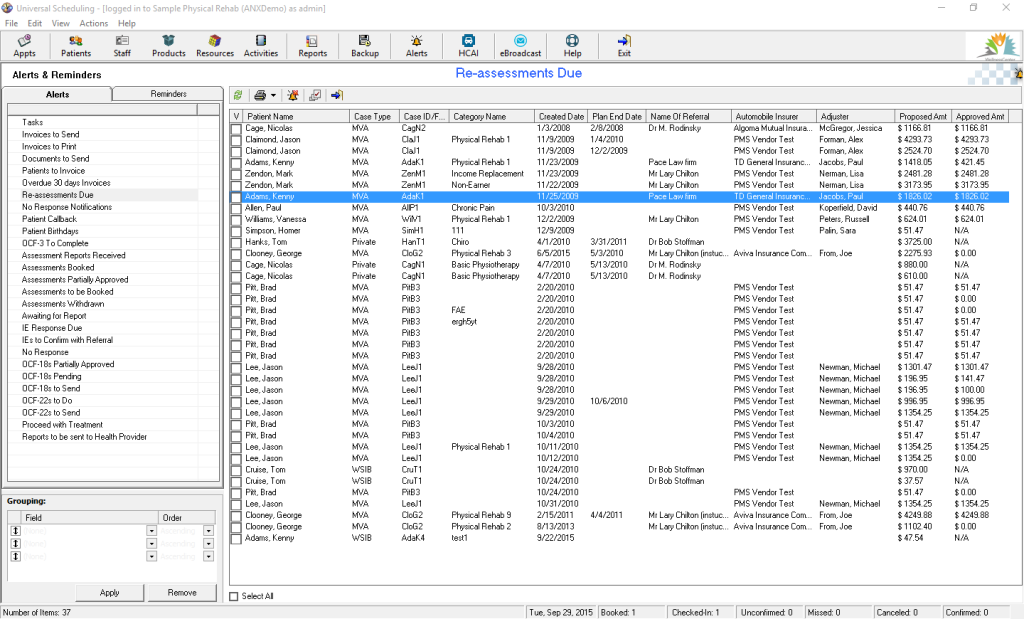
The layout in the Patient Manager, Staff Manager, Resource Manager, Activity Manager, and Product Manager is very similar. On the top-left of the screen is the name of the manager that is currently open. Below the name is a list of the items specific for that manager. For example, in the Patient Manager, the patient names are listed on the left in alphabetical order. When one of the items in the list is highlighted, that item is displayed across the top of the screen. The center/right side of the screen is the working area, and may contain additional tabs, depending on the manager type.
On the left side, above the list, use the search box to search by details relevant to the managed records (for example, Patient name, Activity description, or Resource name). You can also search by other criteria specific to the named manager using the search drop-down options.
On top-right of every manager in the main working area, you will find the create new, edit, and delete options. In edit mode, the system allows you to enter and change the details and enables the Save and Cancel Changes options.
Use the last button on the toolbar to exit the manager.
3.Appointment Book
When you sign in to the Universal Scheduling program, the system displays the daily schedule calendar with all providers scheduled for today (current day).
In the right pane is a calendar that allows you to jump from date to date, search for a patient, and select an activity.
There are also options to view the calendar in a Weekly Schedule per provider. In the Weekly Schedule tab, you can see the schedule for a single provider, or switch the view by choosing another provider name from the provider drop-down list.
![]()
Appointment Book Toolbar
4.Patient Manager
Use the Patient Manager to add new patients and create cases (case folders) for the patient. Toggle between the patient name and the case list located below the list of patients. The Case list always shows the cases for the selected patient name.
When a patient name is selected, the system displays patient demographic information (in the main area). When you select a case for the patient, the system displays the case-specific information.
5.Staff Manager
In this area, add new staff members, including both providers and office administrators. You can also add electronic signatures for providers. It’s important that you add every provider you hire into Staff Manager before adding them into the Resource Manager. When adding a new resource, the system requires that you link the resource to a staff member.
9.Reports Manager
The Reports Manager provides you with access to financial and statistical information that can be extracted from your data store. The left pane displays a list of report groups. When a group is expanded, the system displays reports placed into the group.
In addition to the reports that appear in the folders, you have access to the free online template library where we regularly post new report templates. When you are looking for a new report, check the template library first.

Reports Manager Toolbar
14.Help
Access our online self-help centre with the friendly and rich knowledge base right from the system.


